National Preparedness Month: Backcountry Ready Kit
If you’re bound for the boonies, you’d better-prepared quality gear purpose-built for the rigors of the great outdoors.
In honor of National Preparedness Month, we’ve put together another checklist of essential gear to help you piece together the perfect backcountry ready kit. This kit is by no means an exhaustive list of everything you’ll need, but we do cover a wide range of basic gear and supplies that will be useful for a most backcountry excursions.
Backcountry Ready Kit Essentials
Step 1 – Choose the Right Bag
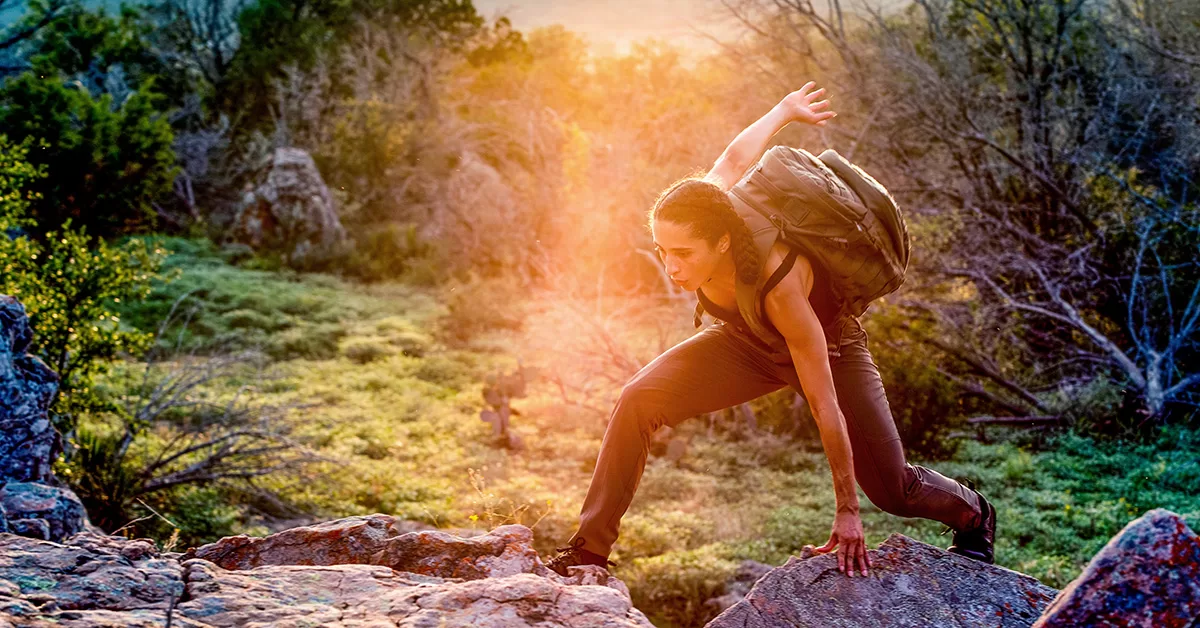
The size of your bag you will vary depending on the duration of your trip. We make bags with enough capacity for 12, 24, or 72 hours of sustainment, but if you’re going to be out for an extended trip, you’ll want the extra storage of our RUSH100 Backpack. This bag has all the features you know and love from our RUSH series of backpacks, but with a whopping 60L of capacity, an ergonomic internal frame, and two removable side pouches. For long trips, internal frame backpacks provide all the space you’ll need and more and the RUSH100 is made durable enough for virtually any backcountry excursion.
Step 2 Tools for Survival
Once you know where you’re headed, create a list of tools you’ll need for survival in the field. Here we cover some of the basics but remember to expand to this list to suit your needs, skill level, and environment.
A knife and/or hatchet is always one of the first things that come to mind when preparing for outdoor trips. There’s not a whole lot that someone skilled in bushcraft can’t do or make with a quality knife and enough natural materials. Temporary shelters, cordage, or even fire making are all possible with nothing more than a knife and what mother nature provides. We don’t carry knives on our website, but we sell a variety of fixed-blade and folding knives at all of our retail stores.
Step 3 – Food and Water
Bring enough provisions to sustain you throughout your trip and look for ways you can save weight like with dried foods. Typically, a normal active person consumes one-half gallon each day, but if you’ll be hiking or backpacking, the rule of thumb for most climates is about 1 liter every 2 hours. For water, you can also really cut down on your overall weight with a small portable hydration system, or a filter like a life straw if you know you’ll be near sources of fresh water.
Step 4 – Warmth
Next, you’ll need a way of preparing your foods and staying warm. Before you start kicking tires and lighting fires, always remember to check your local fire restrictions in the area. Fire strikers are a lightweight tool that will work wet or dry, but they can be challenging to get started, so practice igniting them at home before you head out on the trails. Pro-tip, if you’re strapped for dry or light kindling, try plucking small bits of lint from your socks to form a little cotton ball. This will take a spark more readily and can then ignite larger kindling. If you can’t build a fire due to restrictions, Mylar survival blankets are extremely lightweight and compact making them ideal for backpacking. They are highly efficient heat reflectors when used as a blanket or in conjunction with a campfire to keep you warm.
Step 5 – Navigation
For long excursions, GPS or other digital means of land navigation are awesome, but batteries run out and electronics can fail. Bring a backup map of the area and a compass, and always make sure someone knows where you or your party will be traveling and when you expect to return.
Ready Tip: If you forgot your compass at home, you can use your watch instead. If you’re in the northern hemisphere, hold the watch horizontally and point the hour hand at the sun. If it’s before noon, find the halfway point moving clockwise between the hour hand and the 12 o’clock marker – that direction is roughly true South. In the afternoon, you do exactly the same, only you take the halfway point moving counterclockwise to find true South. If you are in the Southern Hemisphere, you do the same process but in reverse – point the 12 o’clock position of your watch at the sun and the halfway point to the hour hand will be North (counterclockwise in the AM and clockwise in the PM). Need a visual aid? Check out our video on How to use your watch as a compass.
Step 6 – Light Sources
Lastly, you’ll need illumination tools. Having a headlamp is preferred as it will allow you to move at night while keeping your hands free. Our EDC Headlamp 2AAA makes for a lightweight option that takes AAA batteries, but you should always have a backup. Make sure to bring extra batteries for all your electronics. If you need to draw attention to yourself, even a low powered flashlight can be used as an effective signaling tool from great distances. In wooded environments, a whistle can also be a good way of getting attention.
Step 7- Cover and Protection
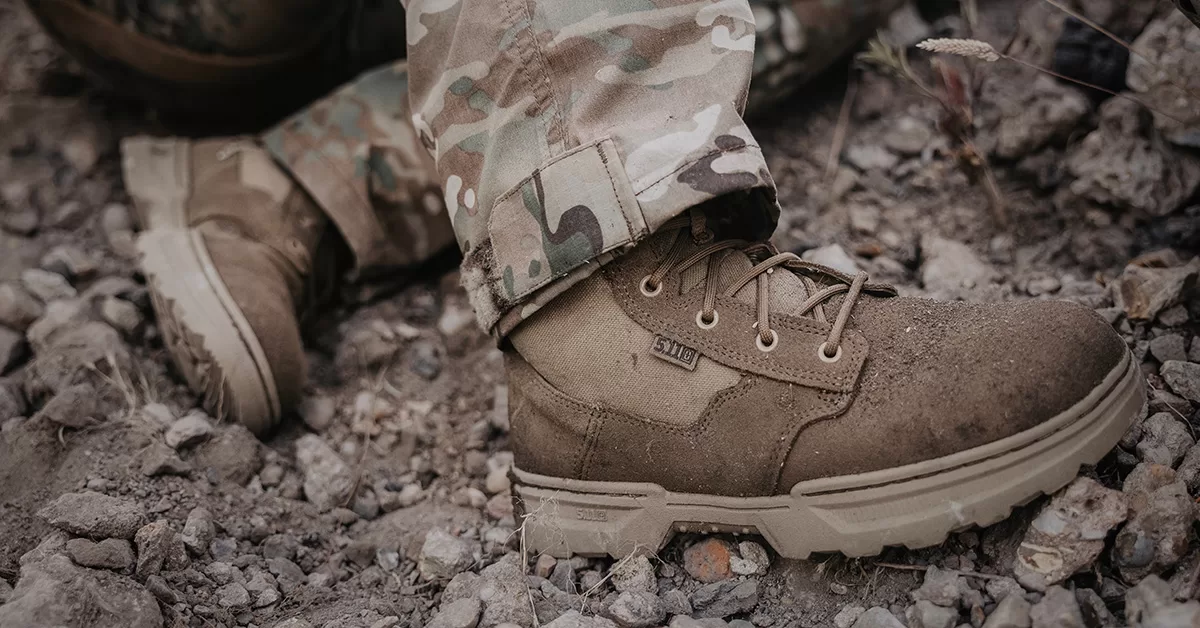
Footwear is top priority when exploring the backcountry. Find a boot that’s supportive for extended periods on your feet and at least 6” in height to support your ankles. For long treks, you’ll want to be sure that the boots you’re wearing are breathable. Lastly, even if you won’t be fording any streams, remember that weather can change quickly. Waterproof boots like our XPRT 3.0 are a good choice to be extra prepared.
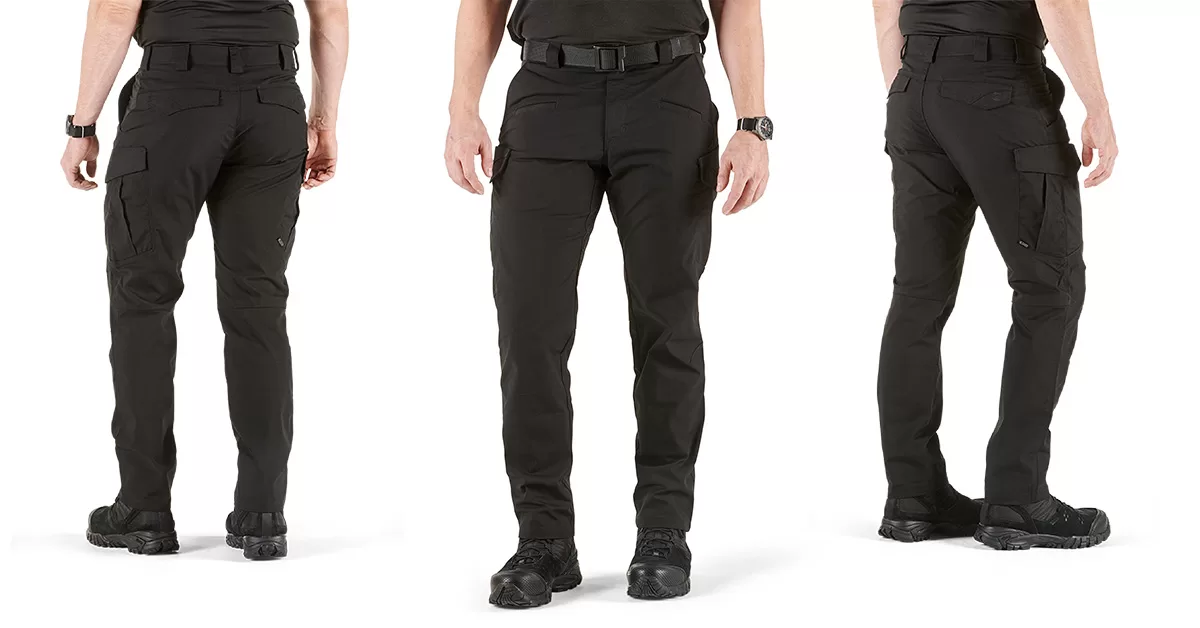
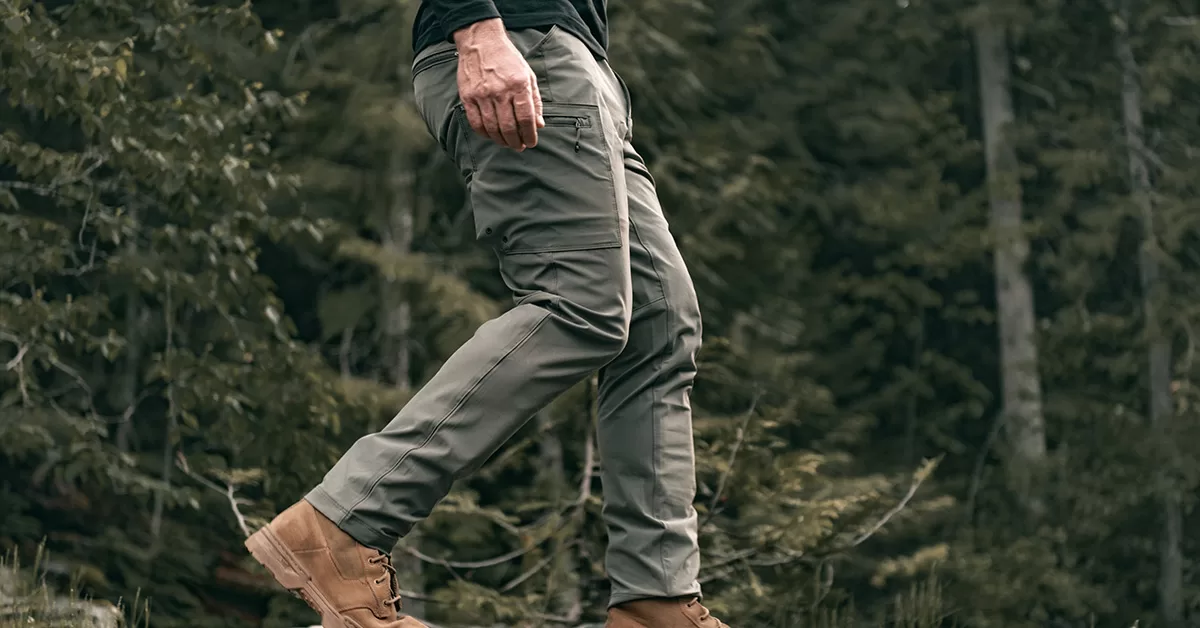
Wherever you’ll be travelling, make sure to prepare for the elements. Keep in mind that exposure can kill you faster than hunger or thirst, so be sure to pack clothing appropriate for the location and season. If you’re travelling in the cold, make sure you bring sufficient layers to keep yourself warm. Our Tactical Fleece 2.0 can work for cool temperatures or you can wear it as a mid-layer for cold environments. Long pants are generally preferred for hikes or backpacking trips, and our Alliance Pants are more than tough enough for long treks.
Always Be Prepared with 5.11 Tactical
If you’ve made it this far, you now have a good start on a solid backcountry ready kit. Remember to tailor and add to your loadout to fit the environment where you will be traveling, and always consider local restrictions, weather, and wildlife while preparing.

